Bootstrap Radio Event
Intro
Sometimes the little aspects turn out to be definitely the very most necessary since the whole pic is certainly a entirely consisting of a lot of very small aspects refined and gathered if you want to display and check just as a well-oiled shiny machine. Such strong phrases might possibly sound a little bit too much whenever it goes to form commands however assuming that you just consider about it for a little bit there is definitely just a single element helping the website visitor to grab one out of a few available opportunities. And so in the event that you are actually featuring a couple of forms using this type of solutions controls over your various web sites does this suggest they are going to all look similar? And more significantly-- would you agree to that?
Fortunately for us current version of the most well-known mobile phone friendly system - Bootstrap 4 appears entirely filled with a bright brand new method to the responsive activity of the Bootstrap Radio Toggle regulations and what is bright new for this edition-- the so called custom-made form commands-- a combination of predefined looks you can just involve and apply just to add in the so desired in today times variety in the visual demonstrations of basically boring form features. So let's check it out how the radio tabs are suggested to be specified and styled in Bootstrap 4. ( helpful hints)
How to utilize the Bootstrap radio button:
In order to design a radio tab we primarily require a
<div>.form-check.form-check-inline.radio.radio-inline.disabledWithin the
.form-check<label>.form-check-label<input>.form-check-inputtype = “radio”name = “ ~ same name for all the options ~ ”id = “ ~ unique ID ~ “value=” ~some value here ~ ”disabled<input>This is likewise the location to identify if you wish the radio control to first load like checked as soon as the webpage gets loaded. If this is what you're after-- as opposed to
disabledchecked<input>checkedCheckbox plus Bootstrap Radio Form examples
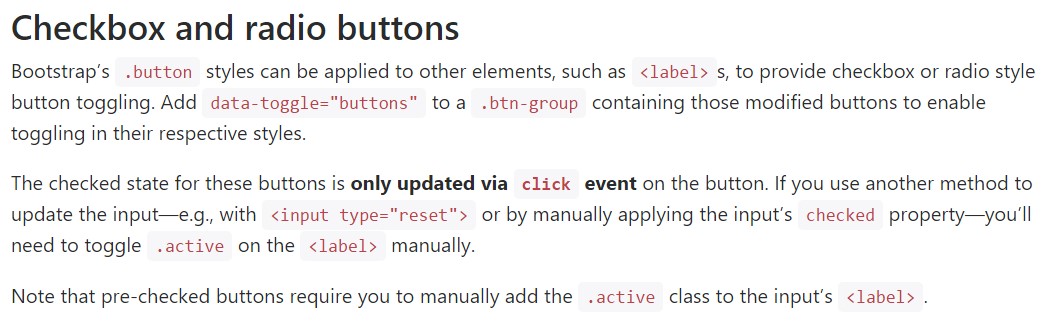
Bootstrap's
.button<label>data-toggle=" buttons".btn-groupKeep in mind that pre-checked buttons need you to manually put in the
.active<label>Checkbox

<div class="btn-group" data-toggle="buttons">
  <label class="btn btn-primary active">
    <input type="checkbox" checked autocomplete="off"> Checkbox 1 (pre-checked)
  </label>
  <label class="btn btn-primary">
    <input type="checkbox" autocomplete="off"> Checkbox 2
  </label>
  <label class="btn btn-primary">
    <input type="checkbox" autocomplete="off"> Checkbox 3
  </label>
</div>
Radio

<div class="btn-group" data-toggle="buttons">
  <label class="btn btn-primary active">
    <input type="radio" name="options" id="option1" autocomplete="off" checked> Radio 1 (preselected)
  </label>
  <label class="btn btn-primary">
    <input type="radio" name="options" id="option2" autocomplete="off"> Radio 2
  </label>
  <label class="btn btn-primary">
    <input type="radio" name="options" id="option3" autocomplete="off"> Radio 3
  </label>
</div>
Radio button solution
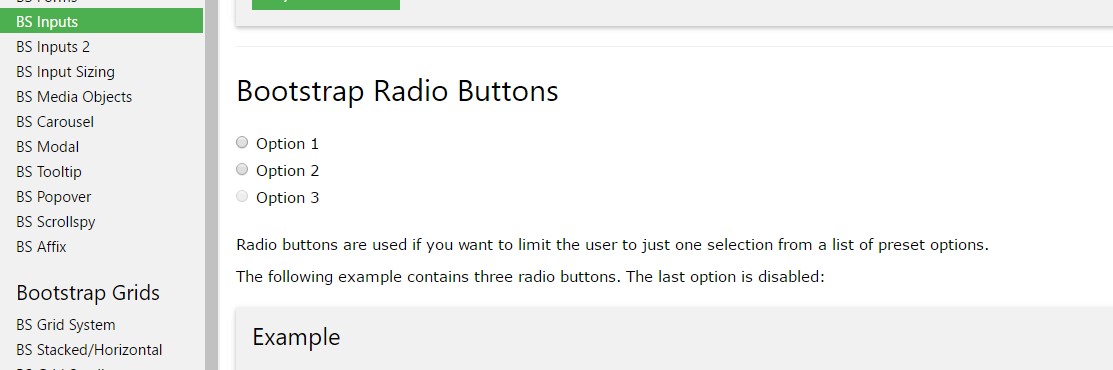
In the event we require the user to select just one of a set of features, we can easily utilize input components of the radio style. ( more tips here)
Only one particular can certainly be chosen in the event that there is higher than one particular element of this particular style using the identical value within the name attribute.

<div class="row">
  <div class="col-lg-6">
    <div class="input-group">
      <span class="input-group-addon">
        <input type="checkbox" aria-label="Checkbox for following text input">
      </span>
      <input type="text" class="form-control" aria-label="Text input with checkbox">
    </div>
  </div>
  <div class="col-lg-6">
    <div class="input-group">
      <span class="input-group-addon">
        <input type="radio" aria-label="Radio button for following text input">
      </span>
      <input type="text" class="form-control" aria-label="Text input with radio button">
    </div>
  </div>
</div>
Conclusions
Basically this is the strategy the default radio tabs get specified and carry on along within Bootstrap 4-- right now all you need are some opportunities for the users to select from.
Take a look at a number of video clip training about Bootstrap Radio Button:
Related topics:
Bootstrap buttons main documentation
Bootstrap Radio button - article
Checkbox radio buttons break entire toolbar styling
