Bootstrap Clearfix Usage
Introduction
Strength in our interpretation implies and better flexibility-- that's what's never sufficient anytime we're laying out the very following style for our brand-new project given that there always is a strong visual aspect idea and even two of them we leave to try out implementing next time. However the sense something isn't quite finished still keeps as far as we search for a solution actually applying this great thought we had although the project was still being certainly designed on a piece of note pad.That is actually ways in which some creative workarounds such as the Bootstrap Clearfix Grid get to life just to generate probably not the greatest at all times yet still functioning strategies and help us implement just what we initially were thought about. ( get more info)
The best ways to make use of the Bootstrap Clearfix Class:
Ordinarily just what Clearfix handles is fighting the zero height container trouble when it comes down to containing floated features-- as an example-- supposing that you possess only two elements in a container one floated left and the other one - right and you would like to design the component containing them with a specific background color without having the support of the clearfix plugin the whole workaround will finish with a thin line in the required background color occurring over the floated elements nonetheless the background colored element is really the parent of a couple of floated ones.
To take care of this the Bootstrap framework has the clearfix plugin featured so to attain the needed final result directly from the mentioned earlier case study all you need to have is simply just adding the class
.clearfixFor examples
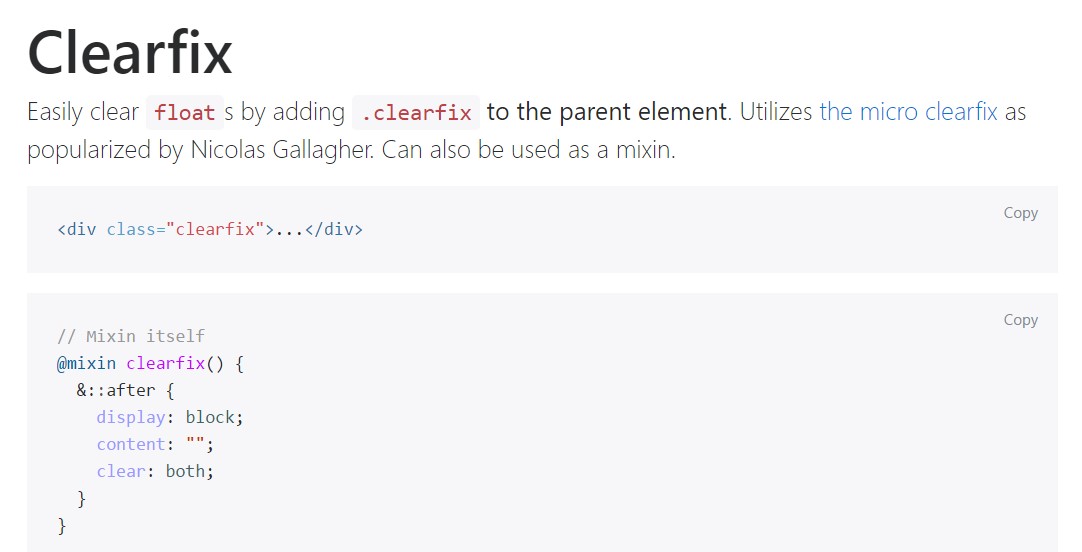
Easily clear
float.clearfix<div class="clearfix">...</div>// Mixin itself
@mixin clearfix()
&::after
display: block;
content: "";
clear: both;
// Usage as a mixin
.element
@include clearfix;The following good example reveals the way the clearfix can possibly be applied. Without having the clearfix the wrapping div would not actually span around the tabs which would lead to a broken style.

<div class="bg-info clearfix">
  <button class="btn btn-secondary float-left">Example Button floated left</button>
  <button class="btn btn-secondary float-right">Example Button floated right</button>
</div>
Brand-new Capabilities
In the most updated version of probably the most well-liked responsive framework-- Bootstrap 4 alpha 6 the clearfix is still completely assisted however eventually will possibly obtain less and less worked with and most likely -- even lost due to the fact that the dev team has considered embracing the flexbox style for a number of the standard web page components-- it is definitely a a whole lot more powerful and current approach for sizing, applying and allocating a certain element's children without the need of floats and for that reason-- the
.clearfixThis solution is bright new for recent alpha 6 of Bootstrap 4 and might possibly be viewed fairly a strong step given that it likewise means releasing the IE9 help for and greatest presentation of the webpages designed on present day internet browsers only but as the innovation development goes on this does not seem like a probable concern in any way. Obviously there still be various circumstances when we will certainly currently need to have the good classic float techniques so that if we complete that-- we likewise have the
.clearfixConclusions
So currently you find out what exactly the # within Bootstrap 4 represent-- do have it in mind when you are you experience unpredicted appearance of certain wrappers containing floated elements however the best thing to execute is really paying com time looking at the way the new star in town-- flexbox makes the things completed since it delivers a selection of pretty neat and convenient style sollutions in order to get our web pages to the very next level.
Take a look at some online video information regarding Bootstrap Clearfix
Connected topics:
Bootstrap clearfix formal records
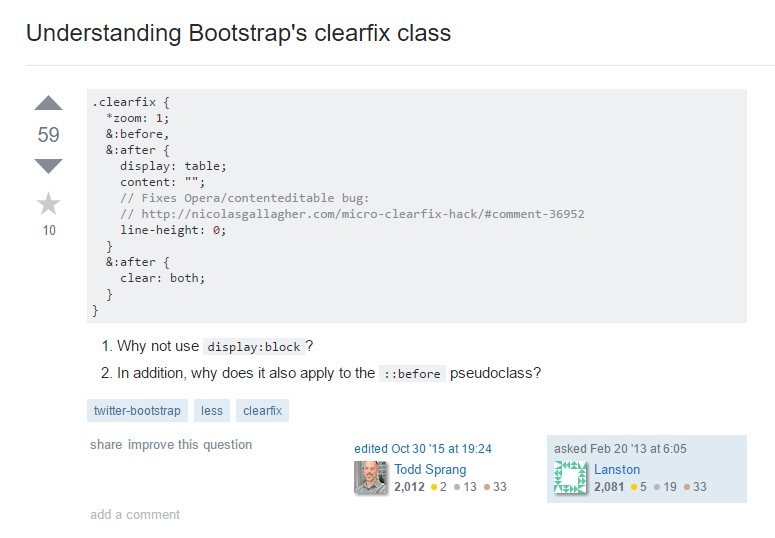
Recognizing Bootstrap's clearfix class
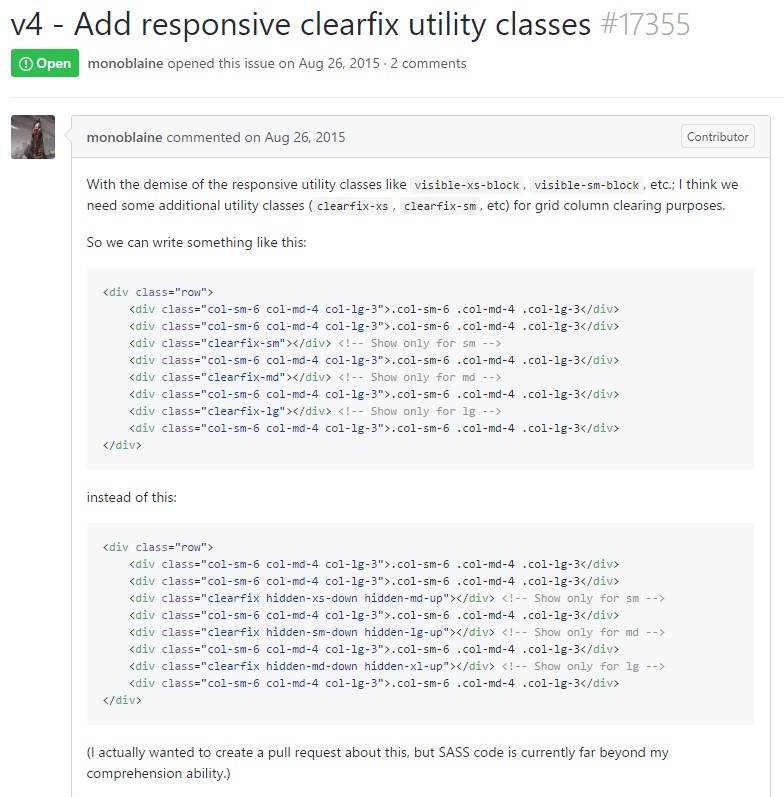
Bootstrap v4 - Add in responsive clearfix utility classes